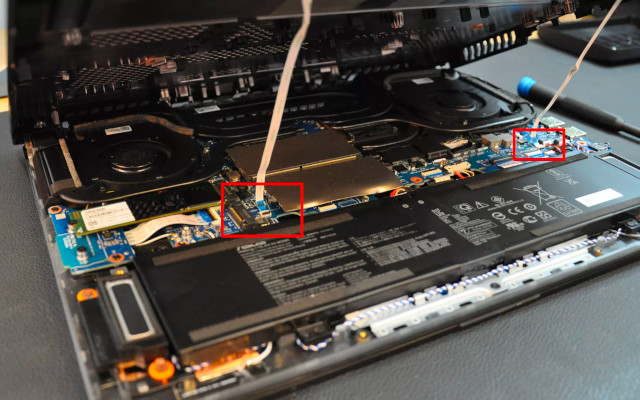
Welcome to our tutorial on how to upgrade the RAM in your Asus ROG Strix G16 G614JV-AS73! The Asus ROG Strix G16 is a powerful gaming laptop known for its exceptional performance and sleek design. However, if you're looking to take your gaming experience to the next level or improve multitasking capabilities, upgrading the RAM is a great option.
In this tutorial for the Asus ROG Strix G16 G614JV-AS73 RAM Upgrade, we will guide you through the process step by step, ensuring that you can confidently and successfully upgrade the RAM in your Asus ROG Strix G16. Whether you're a seasoned tech enthusiast or a beginner, this tutorial is designed to be accessible and easy to follow. So let's dive in and unlock the full potential of your gaming laptop!
How Much RAM Can I Install? What Type Of RAM do I need?
The Asus ROG Strix G16 G614JV-AS73 allows for up to 64 GB of RAM to be installed. Specifically, it holds two slots that can manage up to 32 GB of RAM each. As for the kind of RAM, you are going to need to get yourself a DDR5 PC5-38400 4800MHz Non-ECC SODIMM memory module.
These RAM modules are slightly more expensive than the previous DDR4 generation since they're fairly new to the market. However, it's imperative that you use this specific module since otherwise, you will likely run into a compatibility issue as many users can attest to.
Having said that, while 64 GB is the maximum amount of RAM supported by this laptop you don't necessarily need to go all out. If you upgrade to 32 GB through the use of two compatible 16 GB memory modules you'll already notice a significant improvement in performance. It all depends on what you're needs as a user are.
How Much RAM Should I Install?
The amount of RAM needed for a computer or laptop depends on the specific requirements of the user and the tasks they perform. Here's a breakdown of who might benefit from different RAM configurations:
16GB RAM:
Casual users: If you primarily use your computer for web browsing, watching videos, and basic productivity tasks like word processing or spreadsheet work, 16GB of RAM is generally sufficient. It provides a smooth multitasking experience and can handle most everyday applications without any issues.
Entry-level gamers: If you enjoy playing casual or older games, 16GB of RAM is typically enough to handle them smoothly. However, for more demanding modern games, you may experience better performance with higher RAM capacities.
32GB RAM:
Enthusiast gamers: If you're an avid gamer who plays resource-intensive games or likes to run multiple demanding applications simultaneously, such as streaming software or video editing tools, 32GB of RAM can significantly improve your gaming experience. It allows for smoother gameplay, faster load times, and better multitasking capabilities.
Content creators: Professionals working with resource-intensive tasks like video editing, 3D rendering, or graphic design can benefit from 32GB of RAM. These applications often require a large amount of memory to handle complex projects efficiently.
64GB RAM:
Professional workstations: Users involved in extremely demanding workloads, such as professional video editing, 3D modeling, virtualization, or large-scale data processing, can benefit from 64GB of RAM. These tasks often require significant amounts of memory to handle massive files and complex operations effectively.
Power users: If you frequently run multiple virtual machines, simulate environments, or work with extremely large datasets, 64GB of RAM provides the headroom necessary to ensure smooth performance and prevent slowdowns.
It's important to note that while more RAM can enhance system performance, it should be considered alongside other hardware components like the CPU and graphics card. The RAM requirements mentioned above are general guidelines, and individual needs may vary based on specific use cases and software requirements.


