The Lenovo IdeaPad Gaming 3 82SB0001US is a great budget-friendly gaming laptop available at a really competitive price point. It features some interesting specs such as a 15.6-inch Full HD display with a 120 Hz refresh rate, a powerful AMD Ryzen 5 6600H processor, and a fairly respectable NVIDIA GeForce RTX 3050 graphics card. However, it does lack in some important aspects; RAM and Storage. Specifically, it boasts a meager 8 GB of RAM and just 256 GB worth of NVMe SSD storage (in the 2242 form factor).
Fortunately for us, it's easily upgradable and today we're going to specifically tackle how to go about upgrading the RAM on the Lenovo IdeaPad Gaming 3 82SB0001US. Out of all the RAM upgrades we've performed here over the course of the years, this is easily one of the easiest and we thank Lenovo for providing such a simple design for users to easily upgrade the RAM.
RAM Upgrade Tutorial For The Lenovo IdeaPad Gaming 3 82SB0001US
What Type Of RAM Do I Need To Use? How Much RAM can I install?
For this particular laptop, you're going to need to get your hands on a couple of
DDR4 PC4-25600 3200MHz Non-ECC SODIMM memory modules. The maximum amount of RAM supported by this laptop is
32 GB, which should give you a nice boost in performance, especially for gamers and content creators.
An important thing to mention here is that you should replace both memory modules on the laptop with identical memory modules.
This is recommended because that way you can benefit immensely from the processor working with the RAM in dual-channel mode, which means that the requests are split evenly between both RAM units, thus ensuring a snappier overall performance. This would not be the case if both RAM modules were different since you would not be able to have your RAM working in dual-channel mode and therefore the speed would be compromised.
In both scenarios -16 or 32 GB - you'll notice a significant improvement in overall performance. We would suggest 16 GB if you're not that into gaming and just want a device to work comfortably without any lags. Alternatively, if you're a hardcore gamer or you want to do some graphic design work, 3D rendering, video editing, and that kind of stuff you will not regret upgrading to 32 GB.
How To Upgrade The RAM on The Lenovo IdeaPad Gaming 3 82SB0001US Step-By-Step
Step 1: First off, you're going to need to turn off your laptop. I can't tell you how many people try to do this upgrade with the laptop on sleep mode. It needs to be turned off and disconnected from the power source. You should also disconnect any peripherals you may have connected to the laptop.
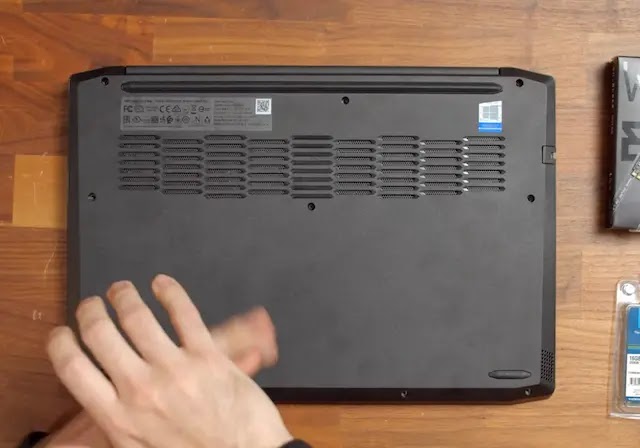
Step 2: Place your laptop on its back. Now, with the help of a screwdriver, remove all the screws attached to the bottom case that are attaching it to the rest of the laptop.
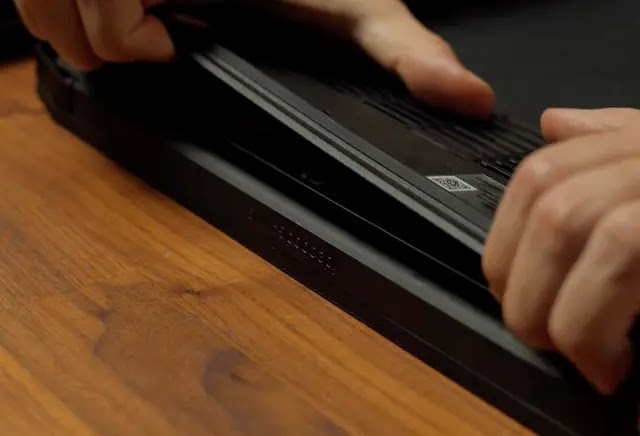
Step 3: Pry open the laptop. You can do so with your bare hands but you could also use a prying tool such as a guitar pick. It's important here that you don't use any metallic objects when prying open the laptop as you might end up damaging the internal components.
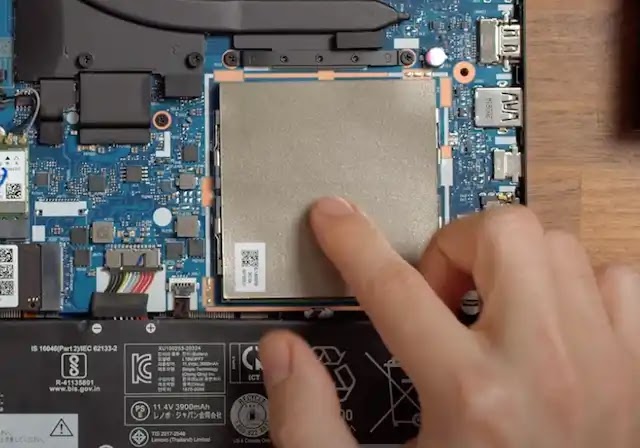
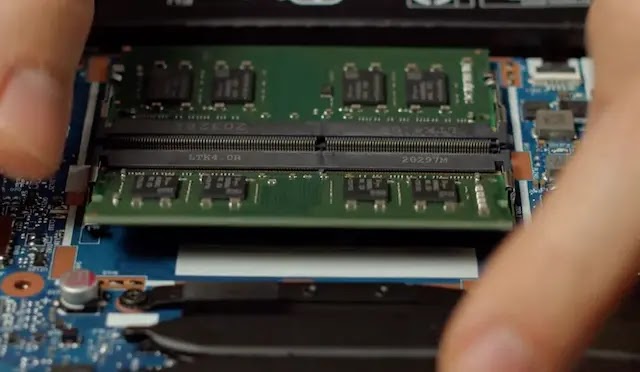
Step 4: Now you have access to your Lenovo IdeaPad Gaming 3's internals. You'll notice there's a heat shield that's protecting the RAM slots. You should remove it to perform the upgrade.
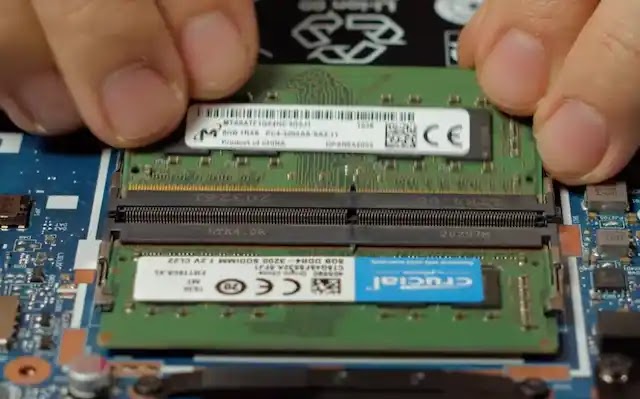
Step 5: Now you're going to remove the onboard RAM to replace it with your RAM. Depending on the configuration sometimes the laptop manufacturer will split the RAM into two units or just one.
That's something that depends on a lot of factors. In any case, since we're going to upgrade both slots (to get the dual channel mode you need two RAM units with the exact same specs) this doesn't really affect us.
Grab the metallic levers located on the sides of each RAM slot and pull them outwards. This will release the memory module at a 45-degree angle, at which point you can retrieve the unit.
Step 6: Grab your new RAM modules and introduce them at the same 45-degree angle. Make sure that the notch on the module and the notch on the slot align.
If they don't align you won't be able to properly insert the RAM. You'll know that it's properly inserted when you no longer see the golden pins at the side of the RAM module.
Step 7: With the RAM module inserted you're going to gently press down. Once you do that you'll hear a "click" that's the sound of the metallic clutches you pulled a couple of steps back attaching themselves to the new RAM. That's the sound that you've done it correctly.
Re-attach the bottom case and you're good to go. Boot up your laptop and you should be able to see the new amount of RAM you've installed under "Device Specifications". That's it! You're done! Enjoy all the new possibilities that come with having much more memory!