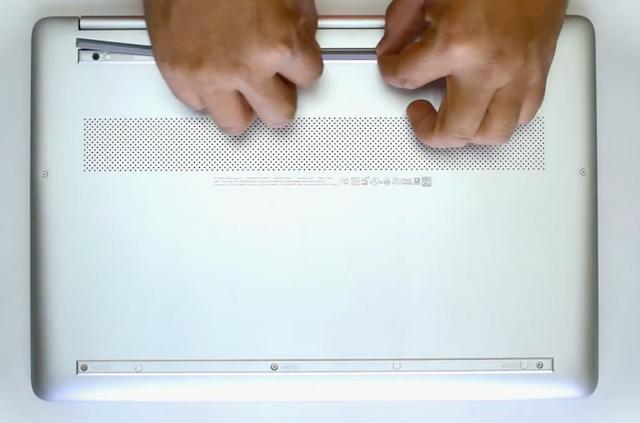
The HP 15-dy2024nr is a robust laptop with modern specifications that make it a strong contender in today's tech-savvy market.
It features a 15.6-inch Full HD IPS micro-edge display that provides crisp and vibrant visuals. Under the hood, it sports an 11th Generation Intel Core i5-1135G7 processor, offering a powerful performance suitable for a wide range of tasks. As for memory and storage, it comes with 8GB DDR4 RAM and a respectable 256GB PCIe NVMe M.2 SSD, respectively. This combination ensures smooth multitasking and quick boot-up times for your applications under general usage.
However, this doesn't mean you would not benefit from an upgrade. Specifically, upgrading your laptop's RAM can have a significant impact on its performance.
For a laptop like the HP 15-dy2024nr, which is already equipped with a powerful processor, a RAM upgrade can further enhance its potential. It facilitates smoother multitasking, allows more programs to run simultaneously without slowdowns, and accelerates load times for data-intensive applications.
For professional tasks like video editing, 3D rendering, or high-end gaming, having ample RAM is a necessity. So, whether you're a professional looking to boost your productivity or a gamer aiming for better gaming performance, a RAM upgrade is worth considering. In this tutorial, we'll walk you through the steps of performing the HP 15-dy2024nr RAM Upgrade.
HP 15-dy2024nr Memory/RAM Upgrade Tutorial
What Type of RAM do I Need to Install? How Much RAM can I install?
The HP 15-dy2024nr supports DDR4 PC4-25600 3200MHz Non-ECC SODIMM memory module. You can install RAM up to a maximum of 64GB, allowing for significant enhancements to your system's performance.
The laptop features two memory slots that are already occupied with 4 GB of RAM each so to perform an upgrade you would need to swap out the internal RAM.
How much should you upgrade to? Well, that depends. Upgrading to 16GB of RAM (through two compatible 8 GB modules) will provide a noticeable difference for daily activities like browsing with multiple tabs, working with large spreadsheets, or using demanding software.
For power users, 32GB of RAM (two 16 GB modules) can offer smooth multitasking across several professional applications like Adobe Premiere Pro or AutoCAD.
Lastly, going up to 64GB of RAM (two 32 GB modules) can be beneficial for high-end tasks like 3D modeling, deep learning, or server hosting, effectively transforming your laptop into a powerhouse of productivity. For most users, this is a bit of an overkill and if you're not going to be doing any of these things the benefits of such an upgrade will be marginal at best.
But why not upgrade just one of the modules and leave one 4 GB module on?
Replacing both sticks of onboard RAM with two identical ones, also known as dual-channel configuration, can bring about substantial performance improvements. Instead of just upgrading one module.
Specifically, this configuration allows the memory controller to access both memory modules simultaneously, effectively doubling the communication speed between the RAM and the memory controller.
This is particularly beneficial for applications that heavily rely on memory, including 3D rendering, gaming, and video editing. For instance, keeping one slot with a 4GB RAM module and adding another module with a different capacity to the other slot will not enable the dual-channel mode, hence it won't be as efficient as having two identical modules. Therefore, for the best performance, it is recommended to use two identical RAM sticks.


